In-Field Planter Inspection Points
In this article you will find an in-field planter inspection points for no-till conditions from our Illinois farmer and carbon cropping agronomist Steve Hasselman.
- Seed Meter Inspection
- Downforce Check
- Gauge Wheel Gap
- Closing Wheel Alignment & Pressure
- Coulter Inspection
- Planter Frame Level
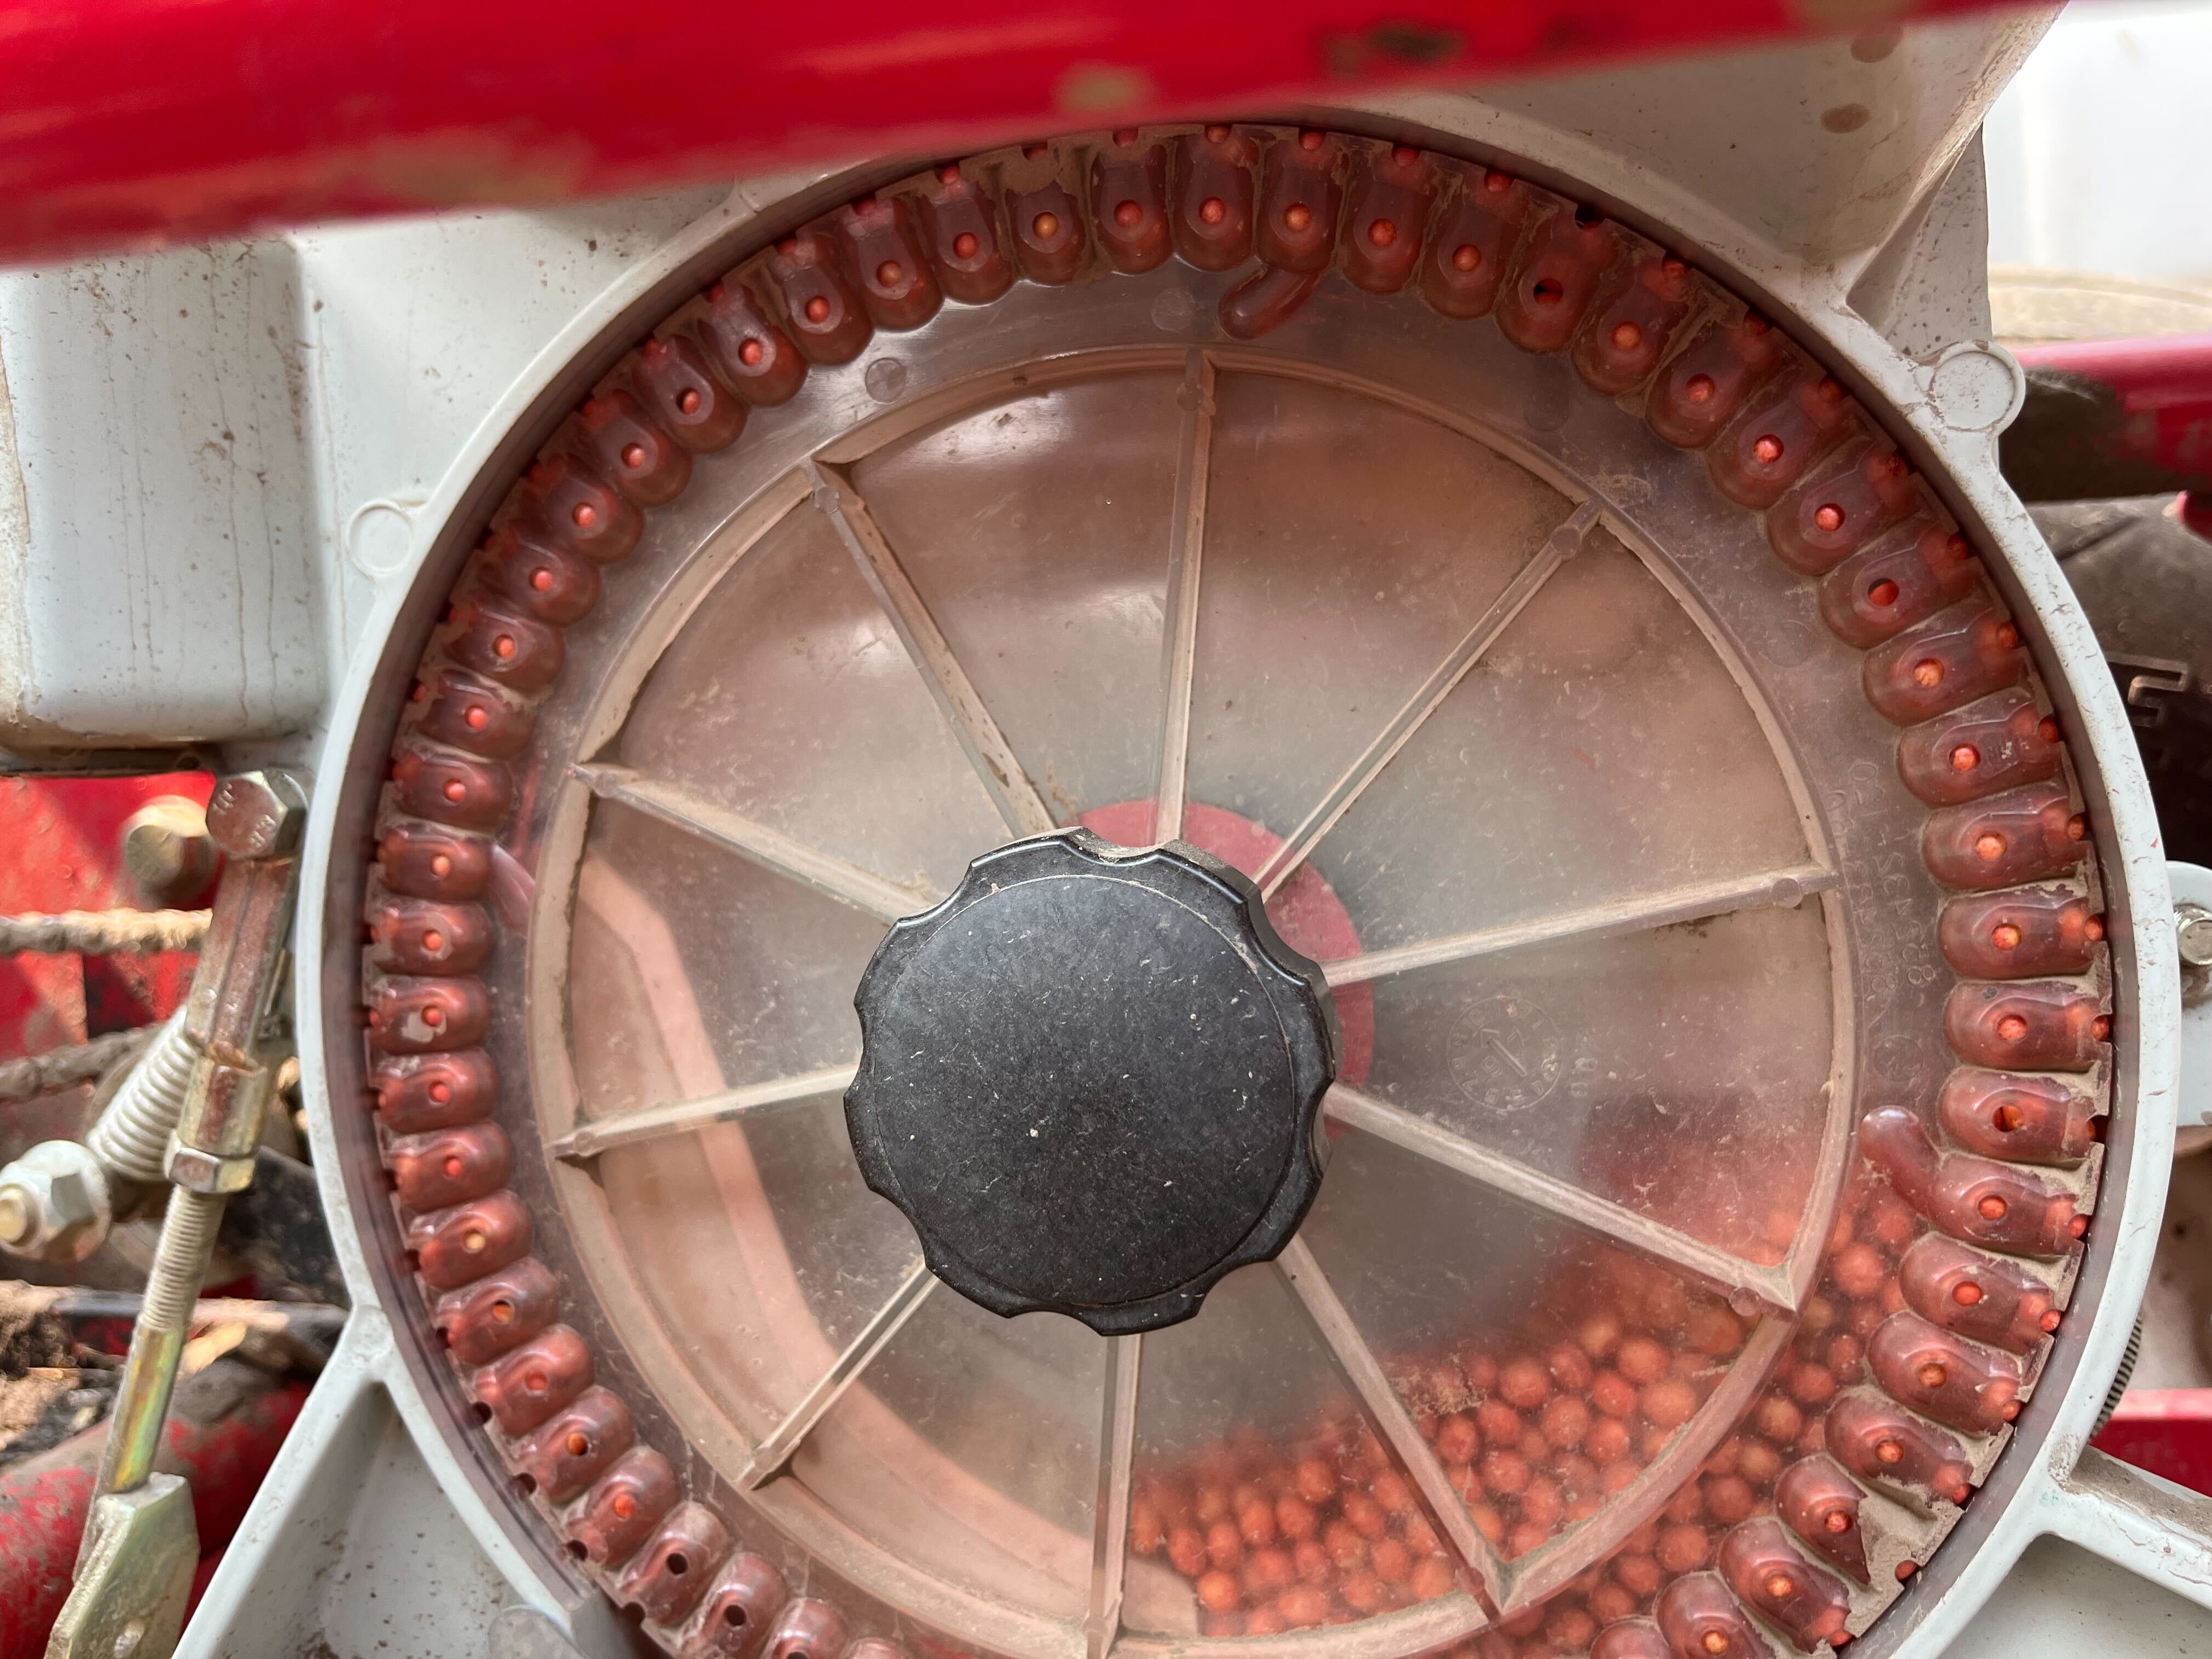
Seed Meter Inspection
If using a positive air pressure or vacuum meter that utilizes a plate or disk, stop the tractor at the same engine speed you are planting at to check that each pocket contains a seed (or two, in double-seed pockets). Pressure or vacuum levels can affect population and singulation, as too much or too little positive or negative force can lead to doubles or skips. A smart planter monitor (20/20 or InCommand) will display this information in the cab, and you can make your adjustments from the display to quickly determine what setting works best for each variety and seed size you plant.
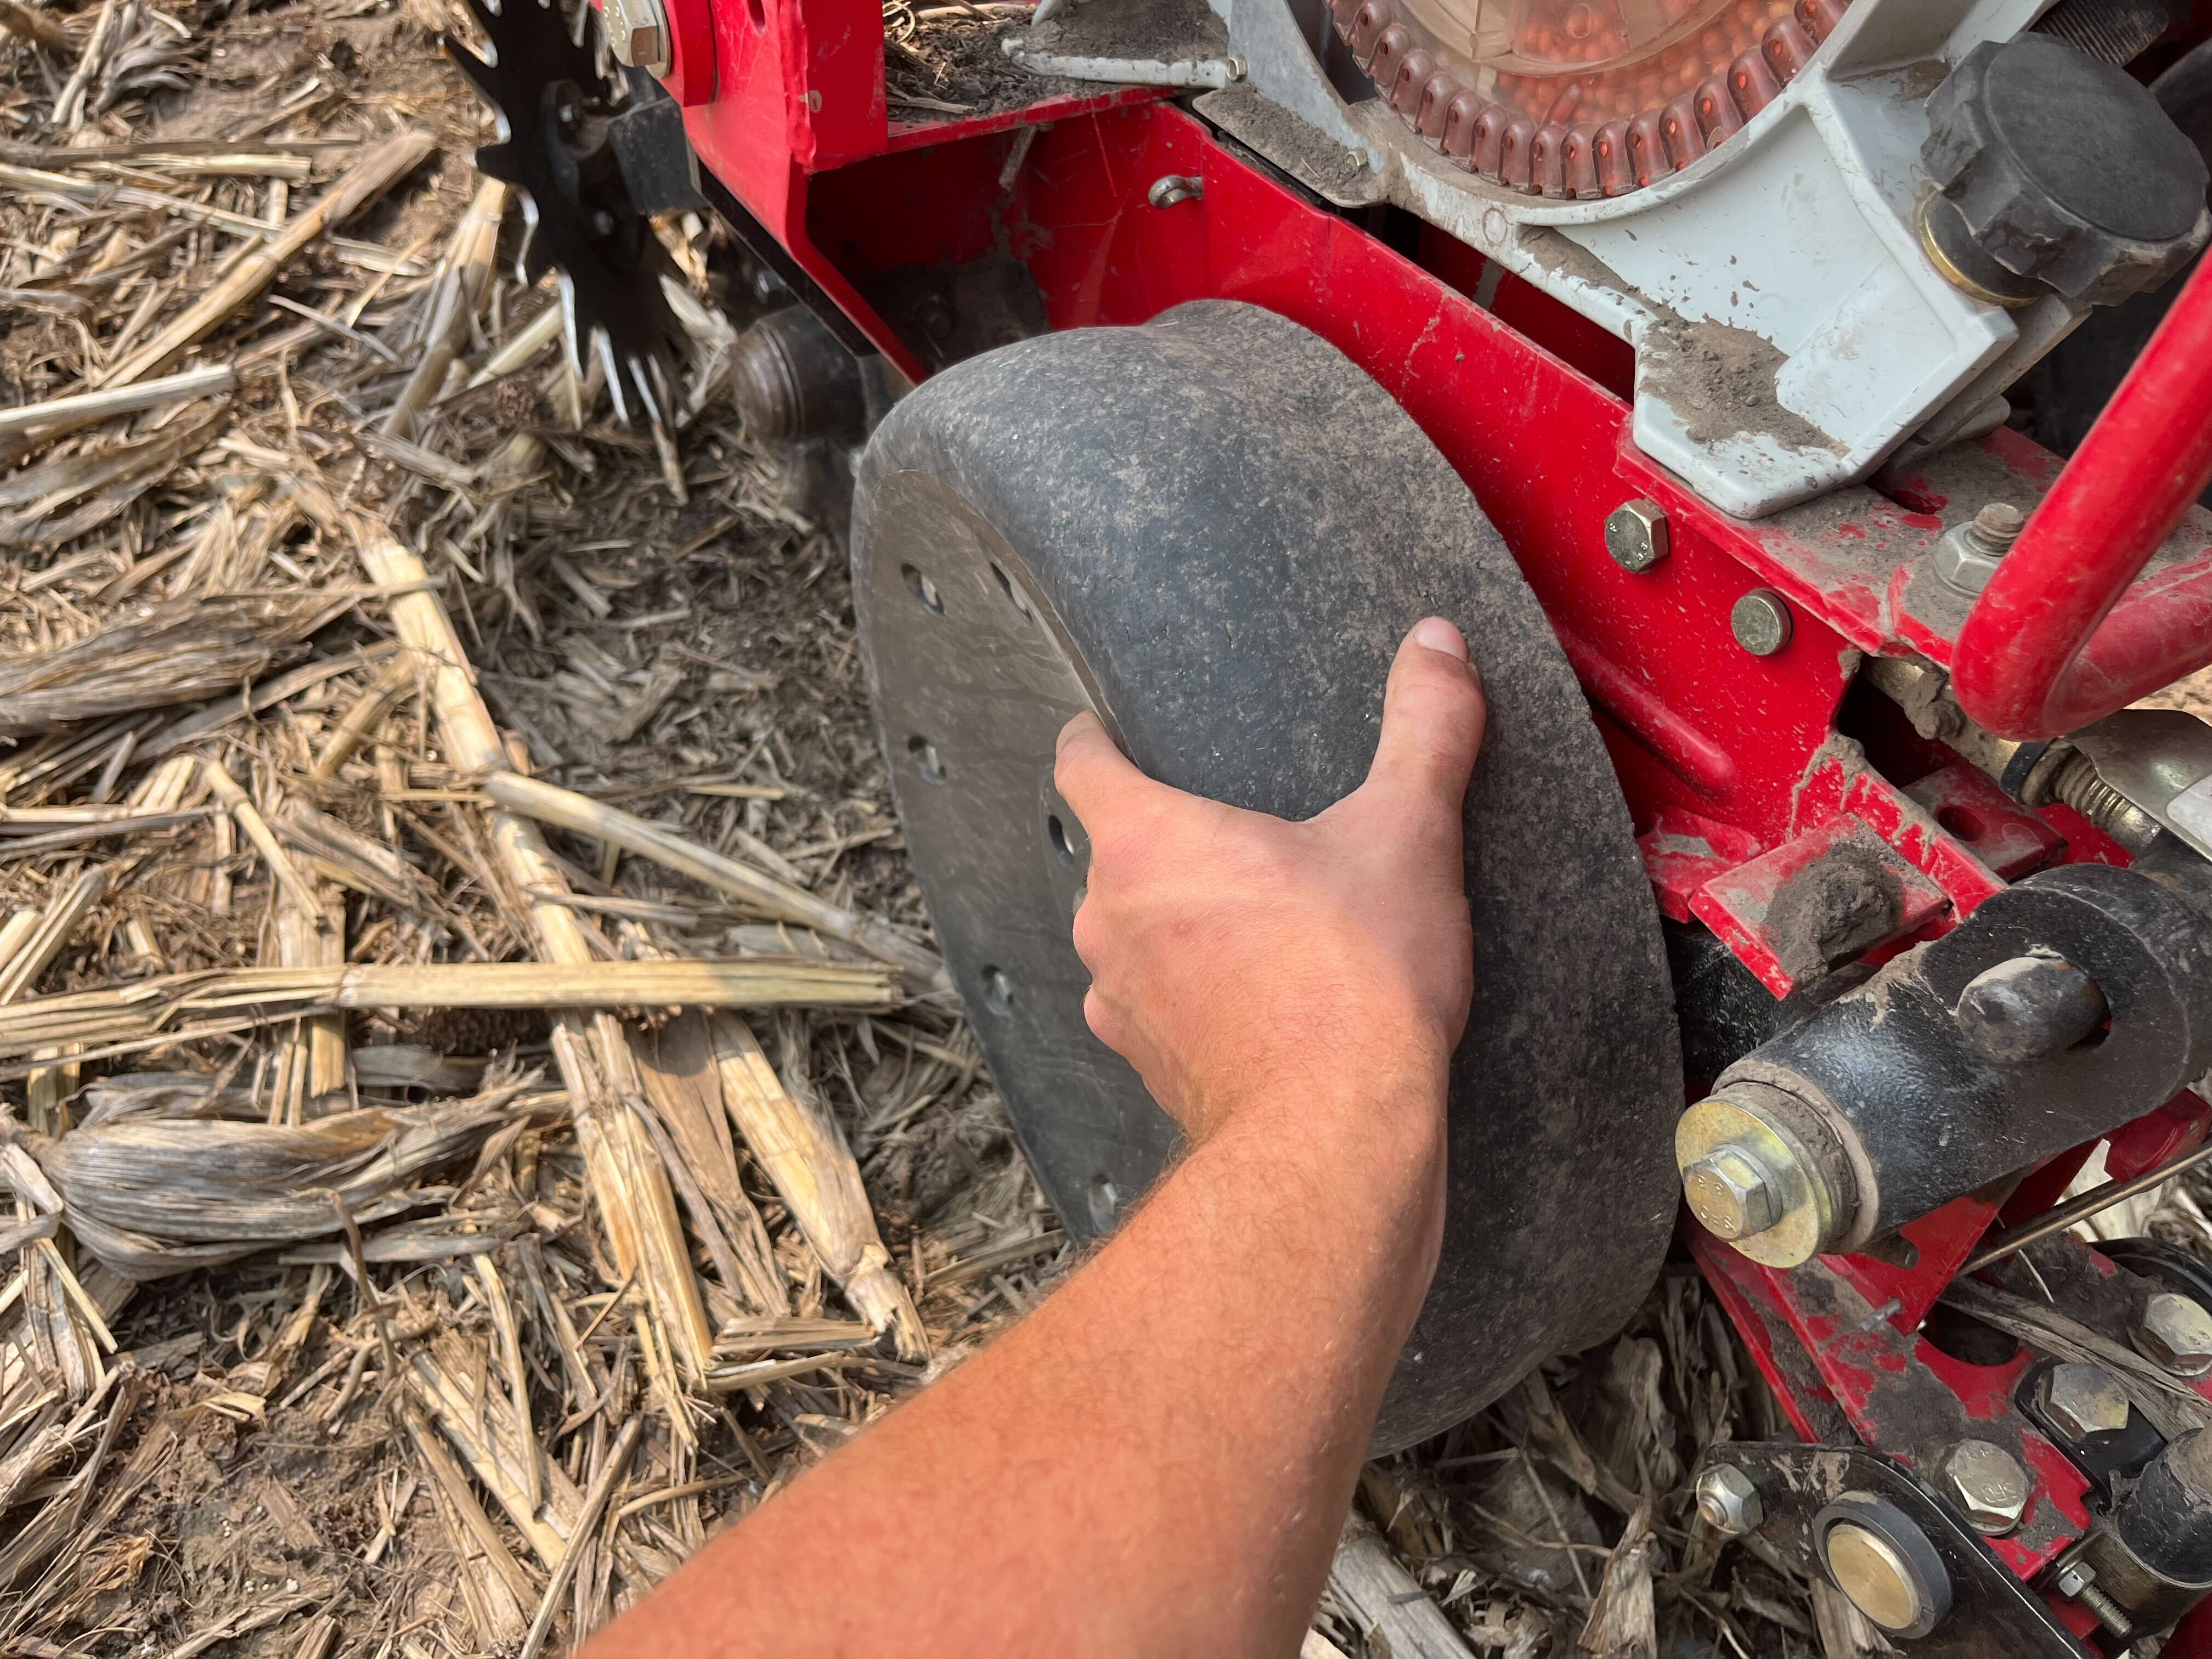
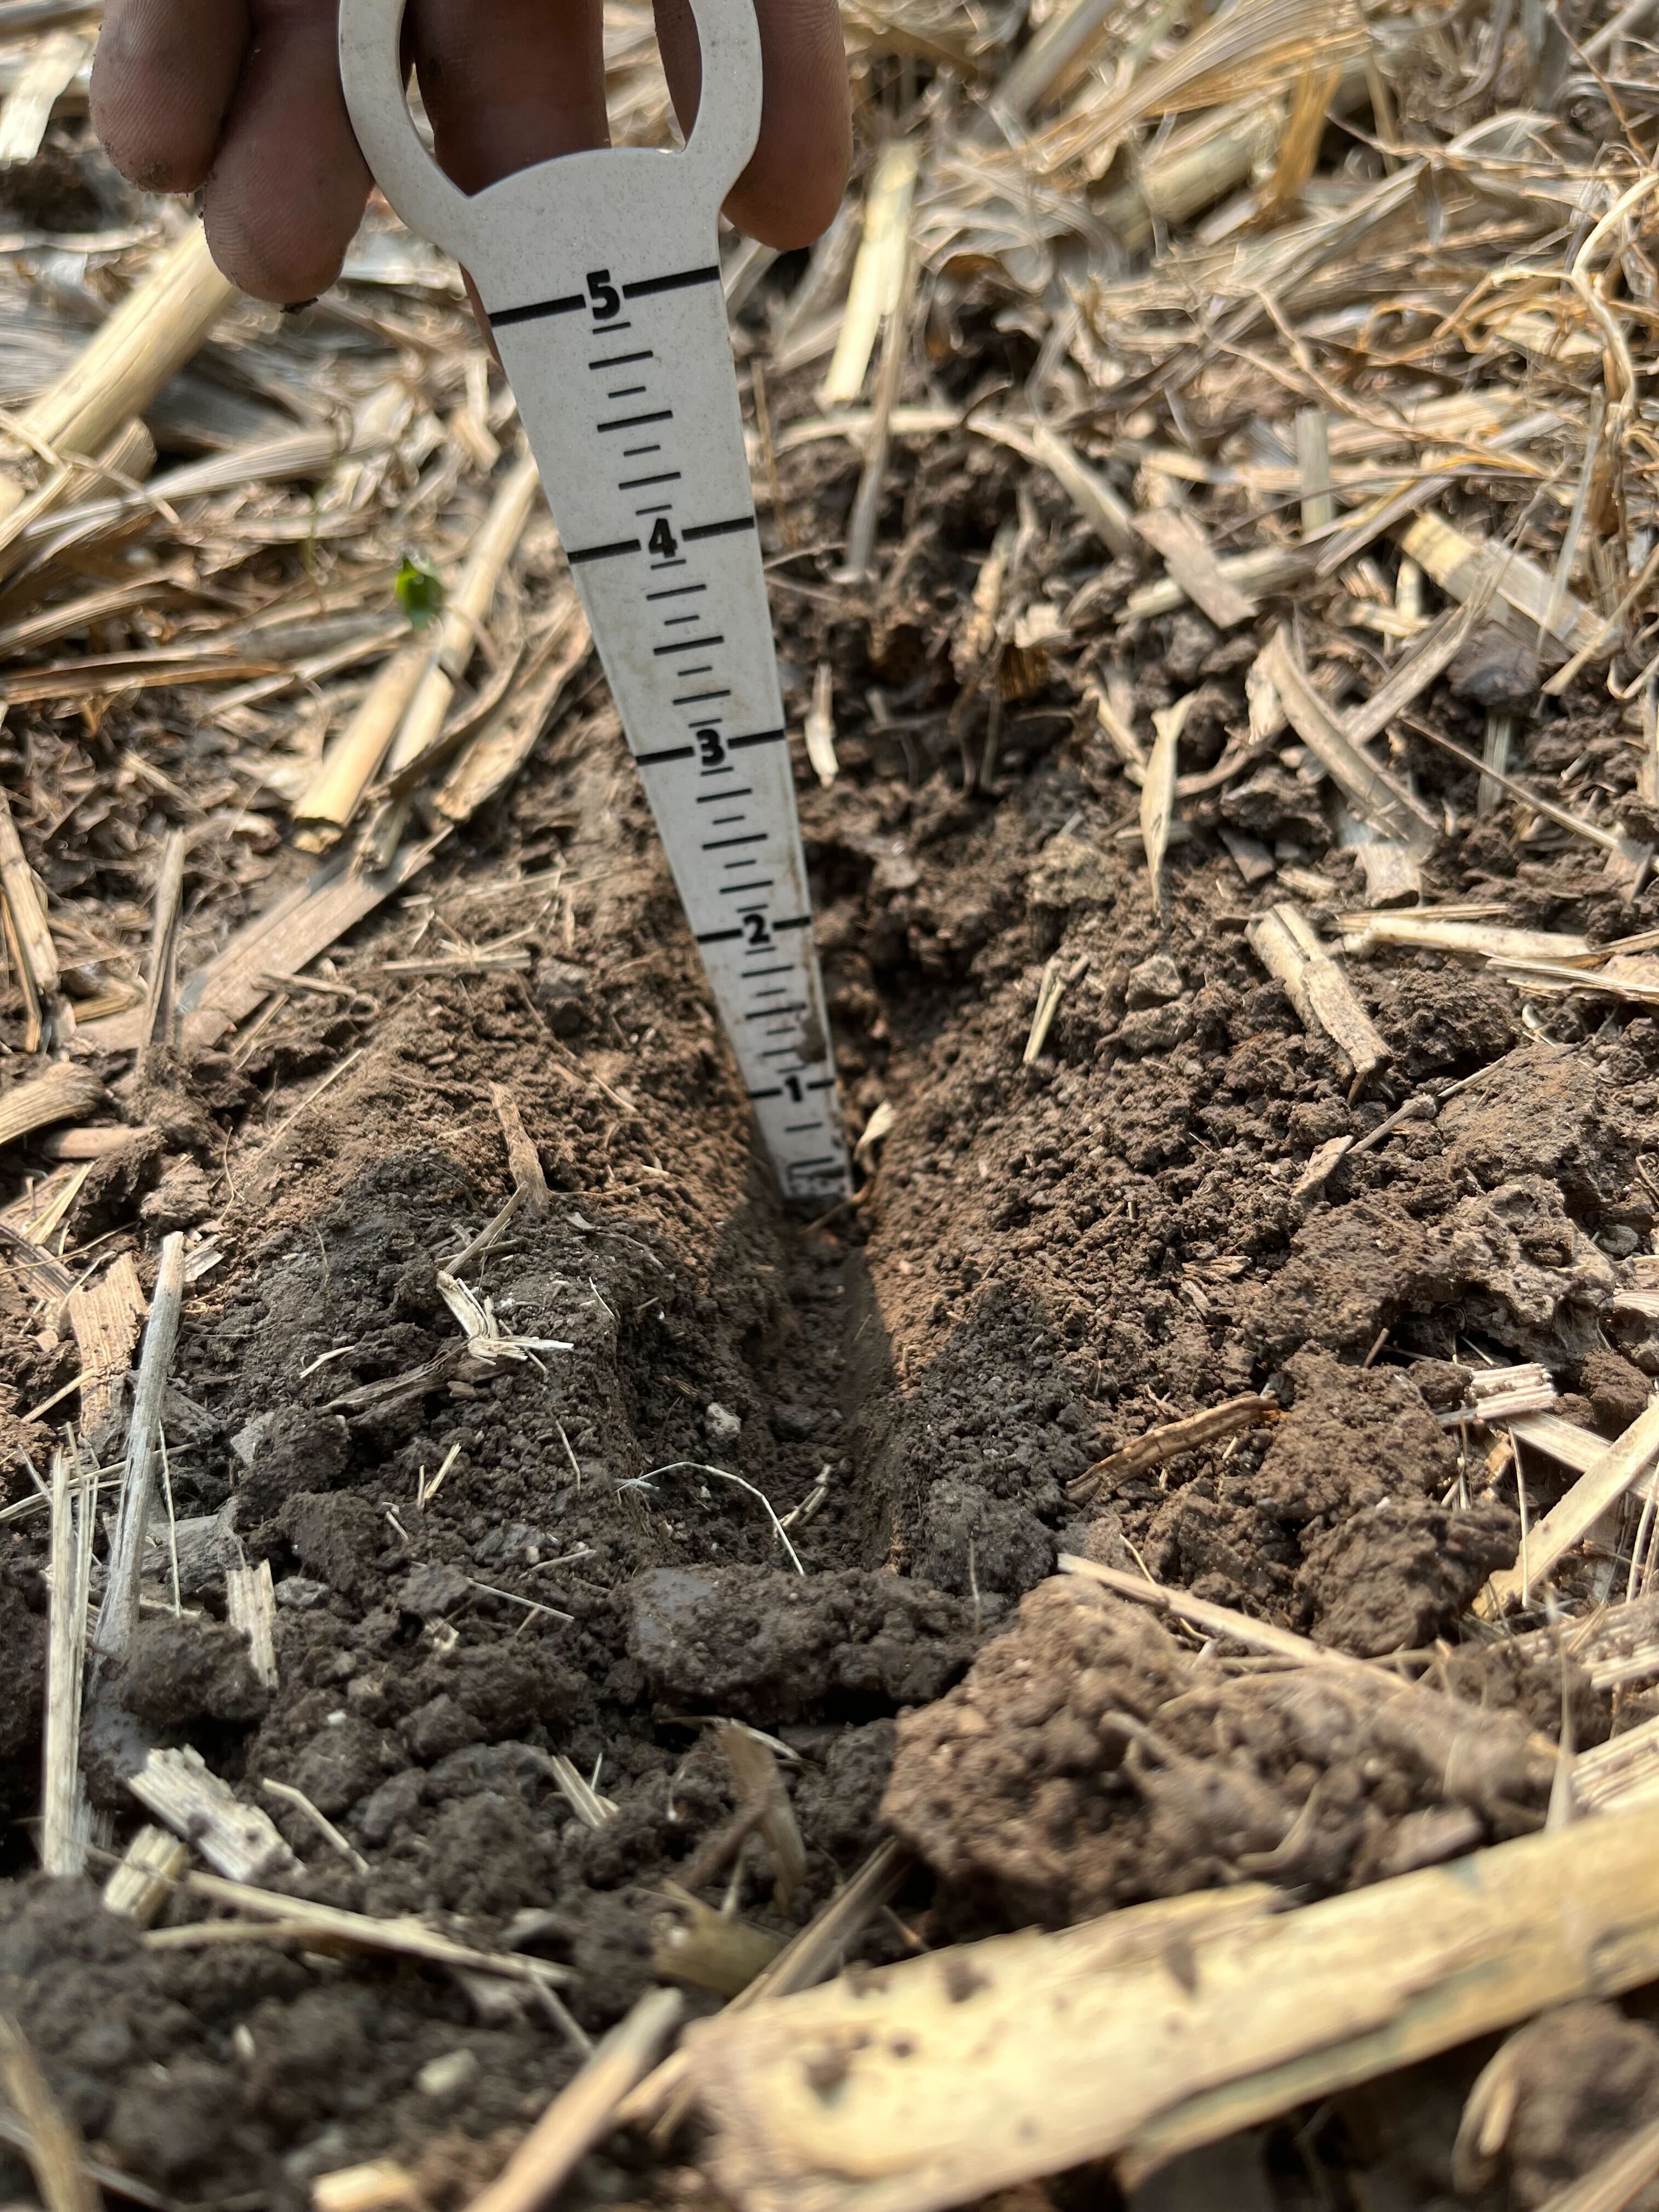
Downforce Check
Ensure that your gauge wheels are shimmed close (gauge wheel gap) to the seed openers, as to not allow residue to be jammed between them, restricting the wheels and openers from turning and plugging. When you are inspecting this in the field, you can also use a quick and easy method for addressing proper downforce. Most of the time, the correct downforce amount can be the level where you can just barely slip the gauge wheel with the planter sitting on the ground. If you can turn it easily, you likely have too little down pressure, and if you can’t budge it, you likely have too much down pressure. The best way to gauge this, however, is by taking the time to dig the seed trench out and inspect it. You need enough down pressure to place the seed at the proper depth, firming the soil around the seed, yet not creating excess sidewall compaction in the seed trench.
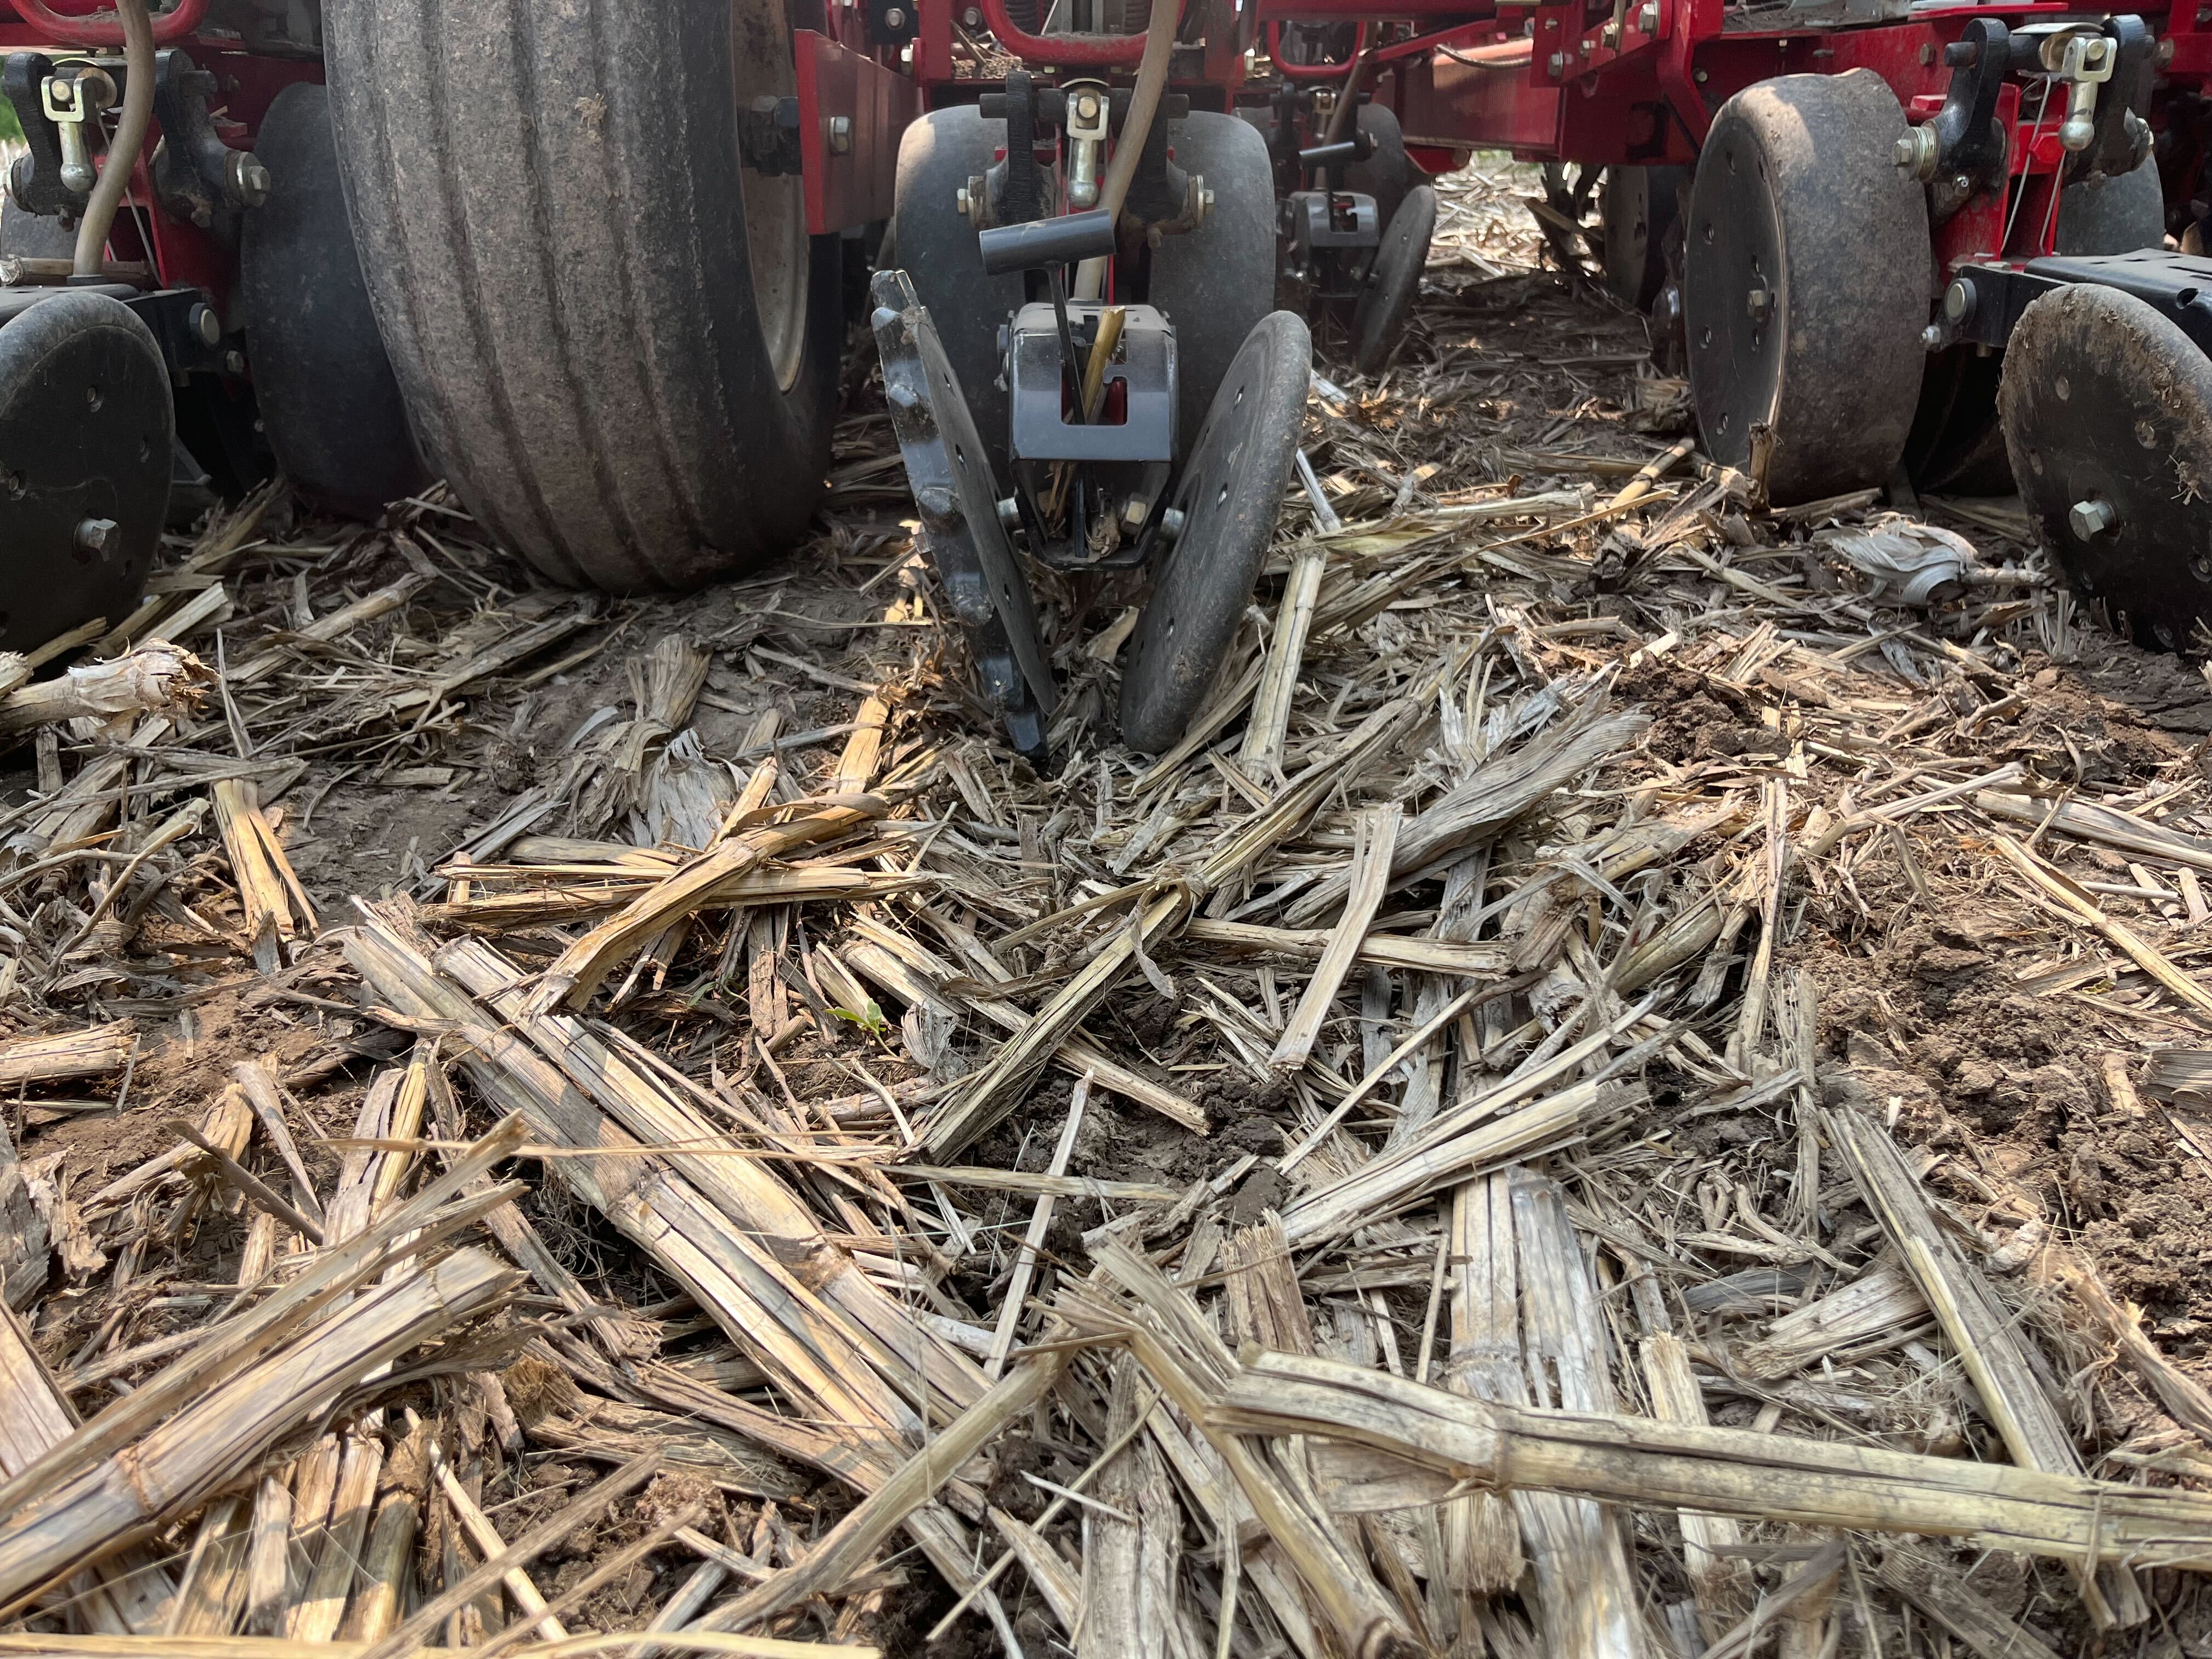
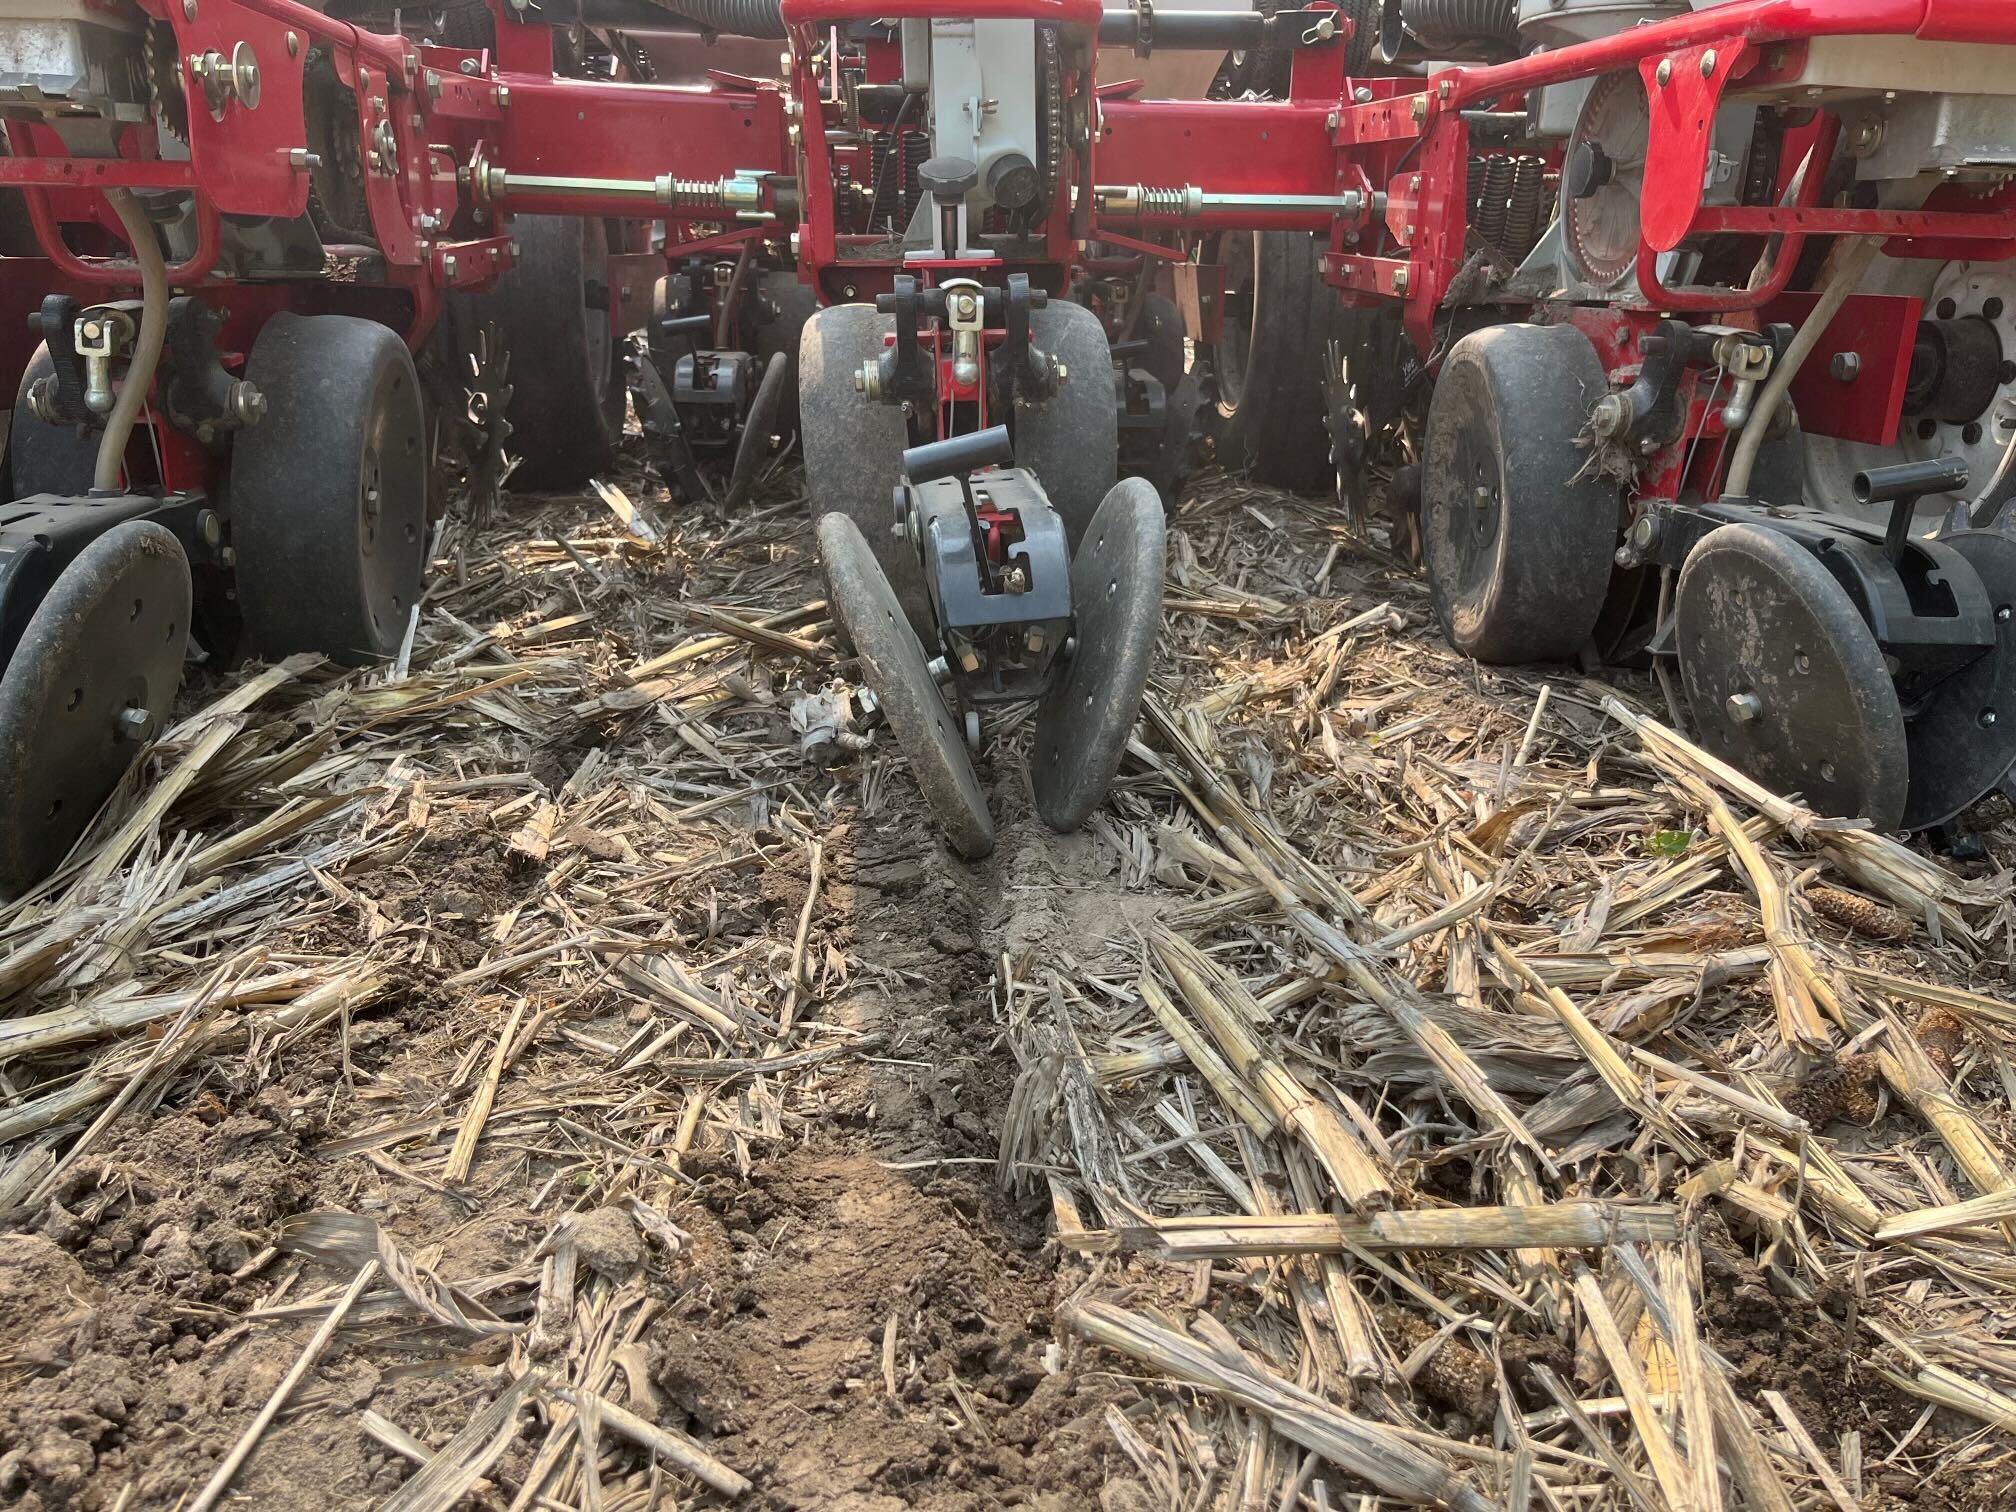
Closing Wheels
Closing wheel assemblies can be bent, broken, or otherwise placed out of adjustment by any number of factors, whether related to an impact with something in the field or not. It is good practice to inspect how each row’s closing wheels are tracking daily to address any problems. As seen in the picture, the closing wheel assembly is tracking too far to the right. And improper closure of the seed trench will result. In this case, though the trench is still being closed, one wheel is riding directly over the row, and will result in compaction above the seed.
No-Till Coulter
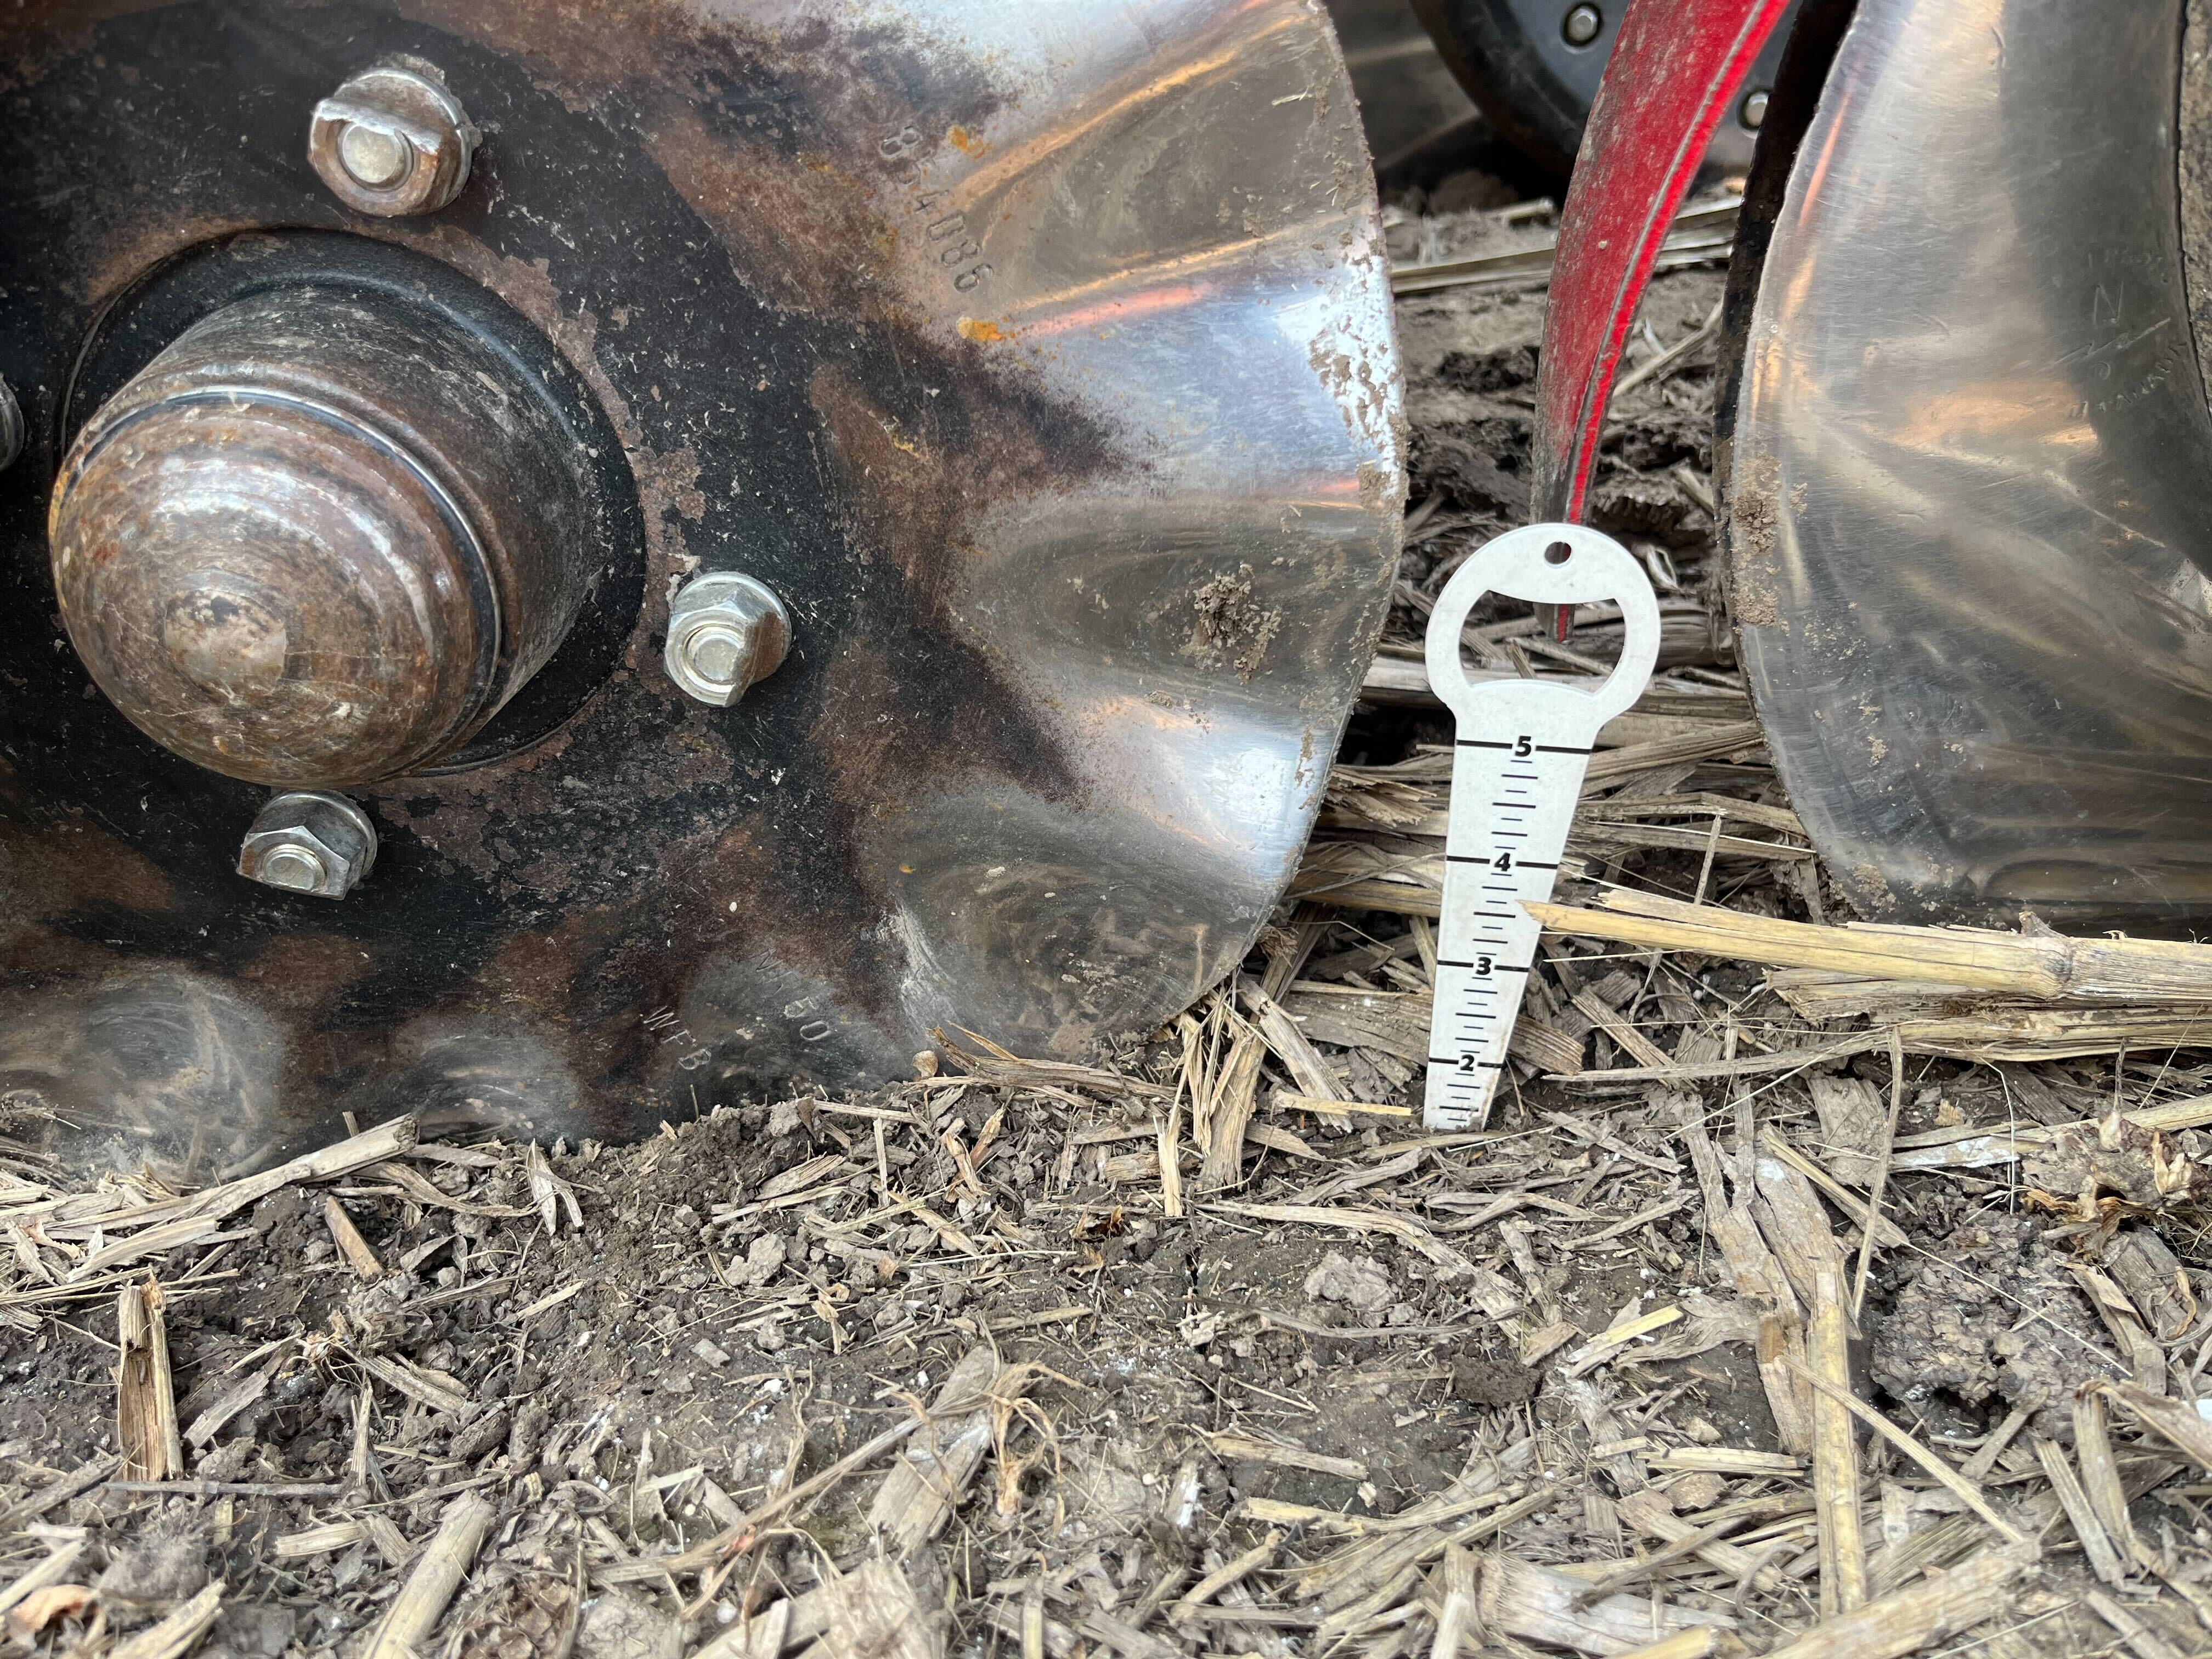
I have recently had an in depth conversation with a colleague about the trend in the no-till farming world of removing coulters from planters and instead replacing seed openers more frequently. Many times, the animosity for a no till coulter is a result of a mis-adjusted blade. Your coulter should never run deeper than you are placing the seed; this can result in an air pocket below the seed, terribly detrimental to the seed-soil contact we spend so much time trying to improve to help germination and timely emergence.
If you replace your no till coulters after many acres of wear, the new blades will be running much deeper than your old worn out ones, and will likely need to be adjusted. Measure this by stopping your planter in the ground, and sticking your seed depth measure in the coulter trench, ahead of the openers. The depth must be less than the depth you are placing seed to avoid an air pocket! When running properly adjusted coulters with properly adjusted row cleaners ahead of them, they will provide the benefits that they have been doing for decades; cutting through soil surface, making way for the openers and saving wear.
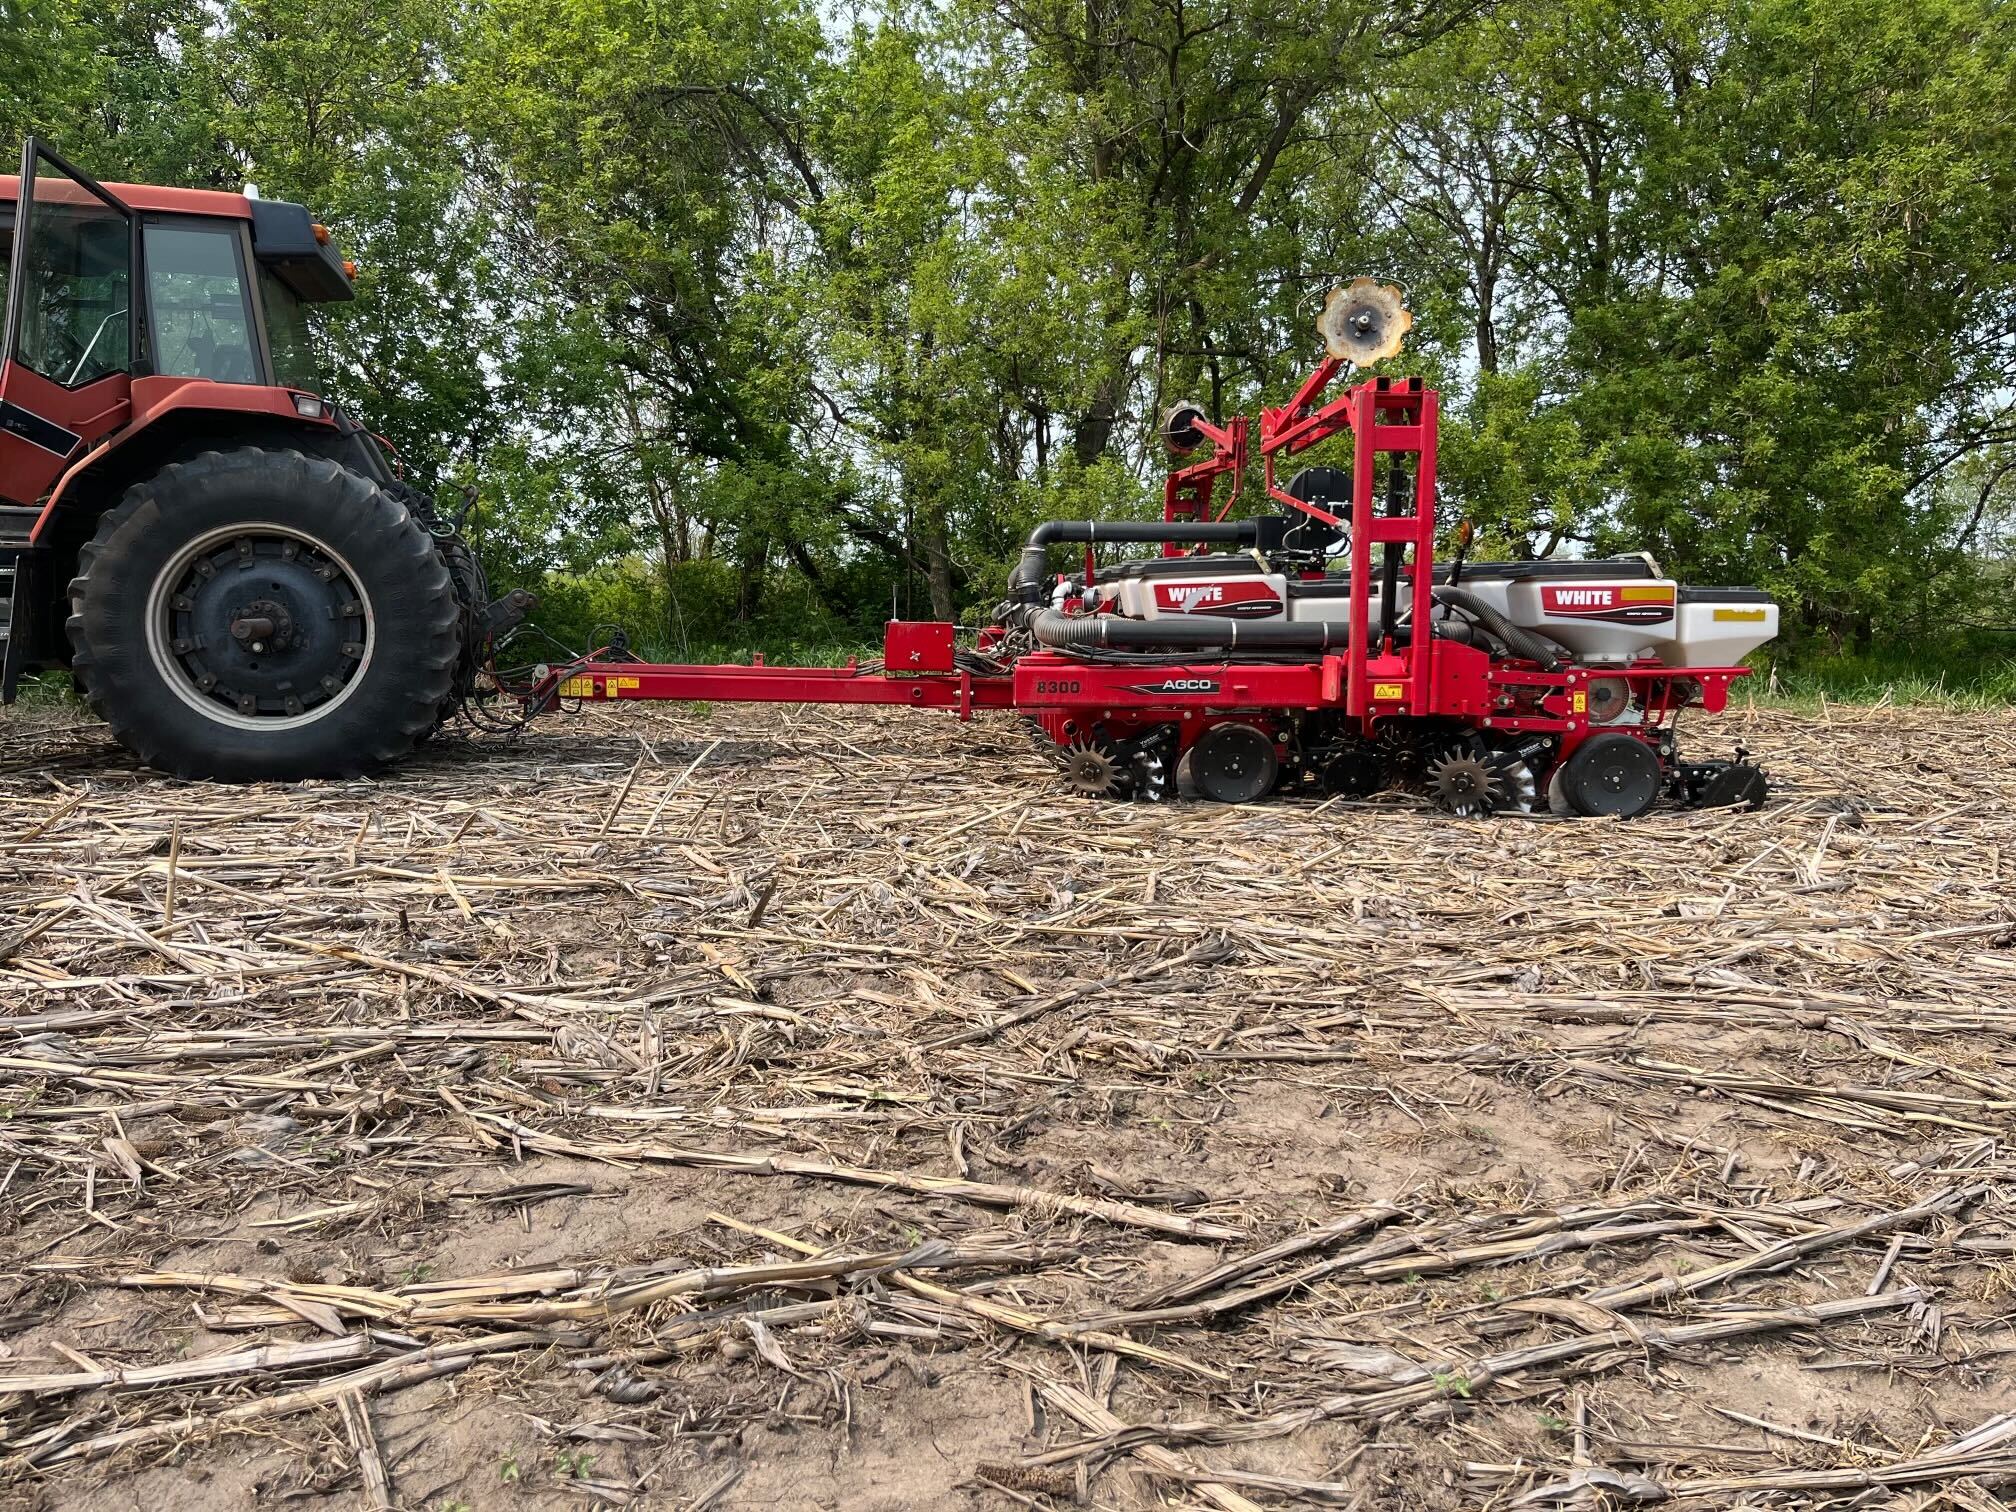
Hitch Height
Hitch height should be adjusted so that the planter toolbar and frame are level when traveling through the field.
Your planter is ready for the field! Watch a short video here that summarizes this checklist.